
Cheapest HomeKit RGB Lightstrip (MagicHome RGB with HAA)
Hey there, it’s Smarty and today I will be showing you how to get yourself the cheapest LED controller with HomeKit.
We will be using a device called MagicHome LED Controller, which by default has its own firmware and to use it, you have to download their MagicHome app and connect the device to their cloud. The procedure is the same for Shelly RGBW2, H801 and others.
Therefore communication happens through their chinese cloud and if you have no internet or they get hacked, you won’t be able to use your LED strip.
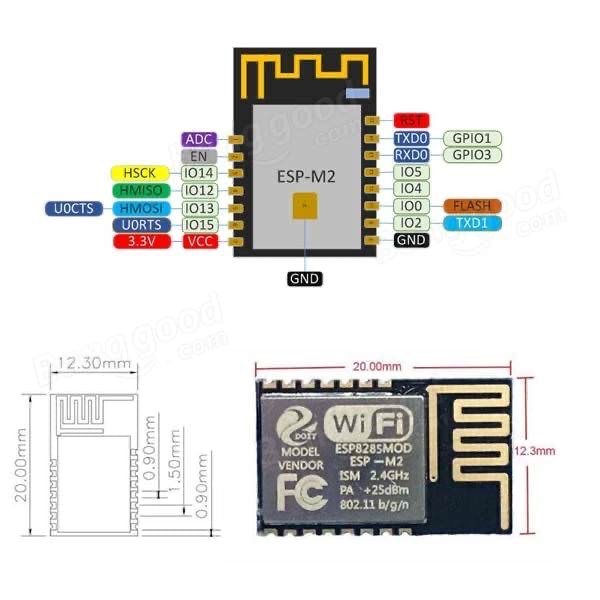
Thankfully, it uses the ESP8266 chip so we have plenty of firmwares to choose from.
I have covered How to flash the ESP8266 with HAA, so please check that out first and then proceed with this tutorial.
Shortcuts: Flash Mode / JSON Strings / Debugging
You can get the main components for this tutorial here:
Hardware
- MagicHome RGB/W Controller - AliExpress - I recommend the WIFI RGB version
- RGB Lightstrip - Amazon / AliExpress
- Soldering Iron - Amazon / AliExpress
HomeKit with HAA
I will be using HomeKit Accessory Architect to add HomeKit support as this is what I have set up at home and it is one of the few protocols that works not only securely through the cloud, but also locally when I am at home, so it is not dependent on my internet connection.
Power Supply
To power the MagicHome Controller and the LEDs, you need 12V power adapter similar to this one.
- Power Adapter Supply AC 110V/220V To DC 12V - Amazon / AliExpress - 12V 2-3A should be enough, depending on how long your LED strip is.
Or you can build one yourself using seperate components:
- Lighting Transformer AC110V-220V to DC 12V - Amazon / AliExpress
- 2.1 x 5.5mm DC Male Plug - Amazon / AliExpress
Flashing
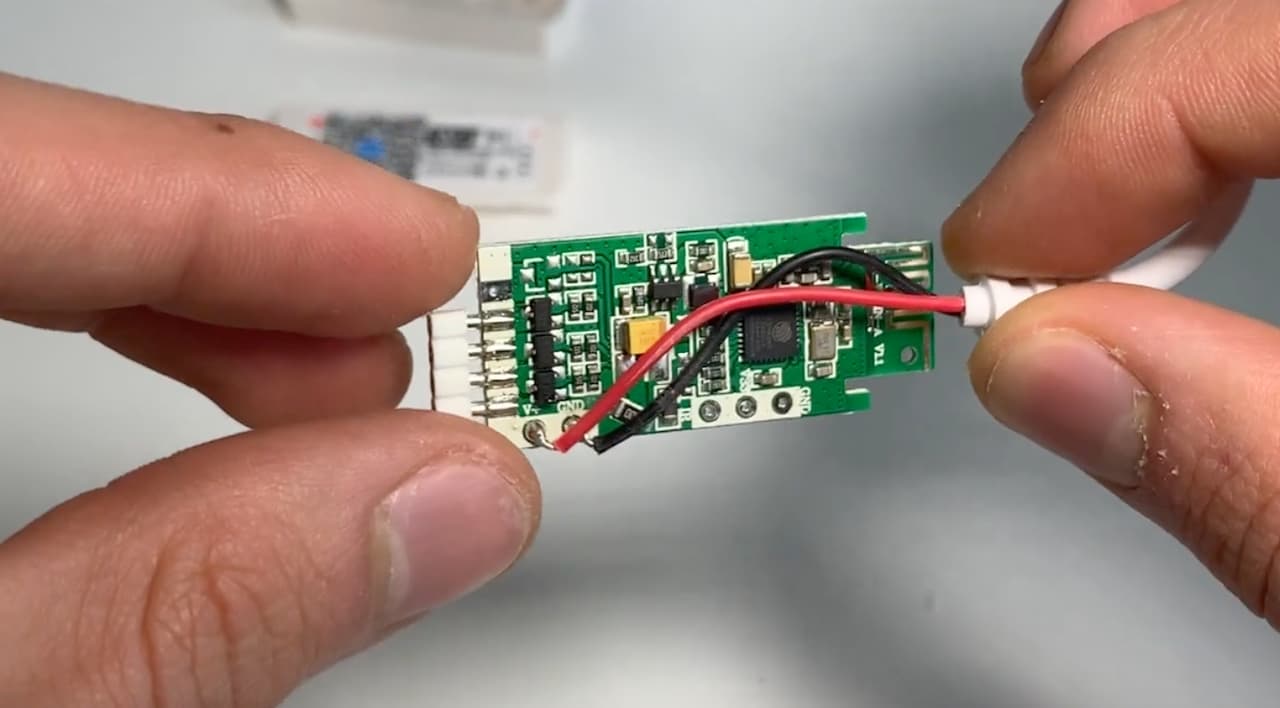
To flash the device, open its box with something thin.
The serial pins are usually on the back of the controller. You can put a bit of solder on them so that you can more easily attach wires for flashing.
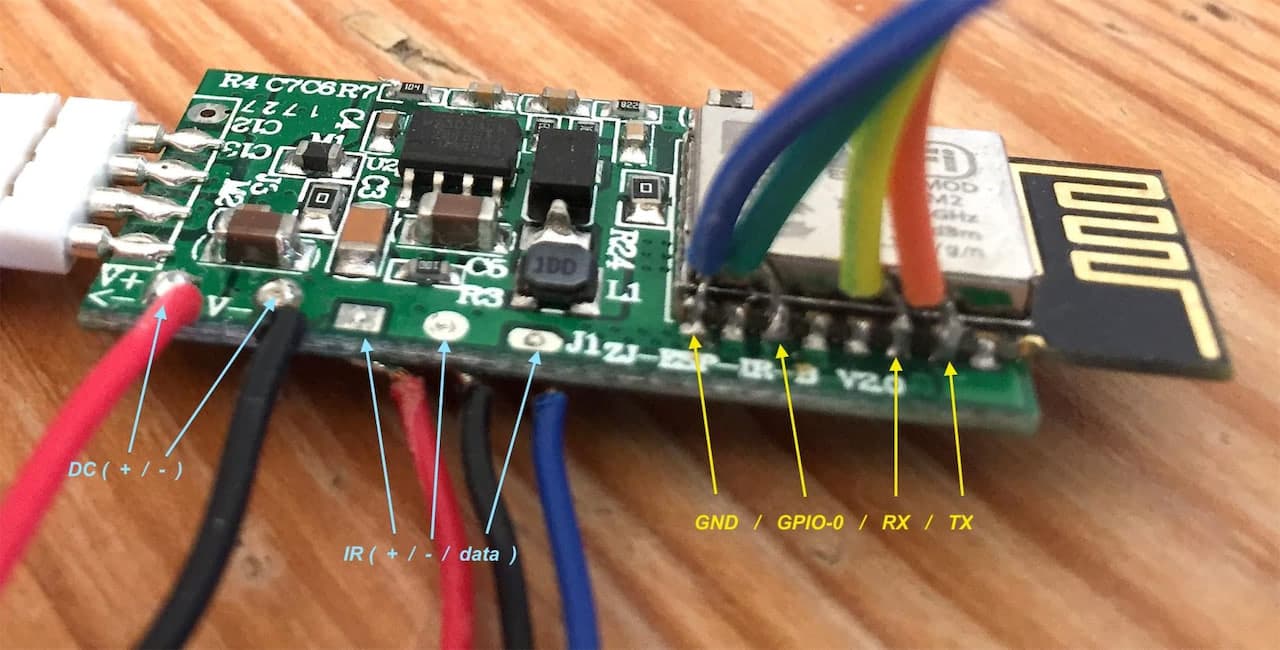
After some soldering, we should have the wires attached and we can now connect them to the serial adapter.
I will be using a breadboard, for easier wiring, but you can do as you please, as soon as you have stable connections.
As with other controllers , we connect TX to RX, RX to TX, GND to GND, and V33 to 3.3 volts from your adapter.
Flash Mode
The pin named 100 or IO0 is GPIO0, so connecting it to Ground for a few seconds on boot is how we put the device in flash mode.
I’ve sped up this part as I’ve already covered it in another video, so please head over there to watch it first and then continue with the next steps.
After successful flashing, disconnect your serial adapter from your computer and connect the MagicHome Controller to DC power.
This is required, as the power from the adapter might be insufficient for a proper boot.
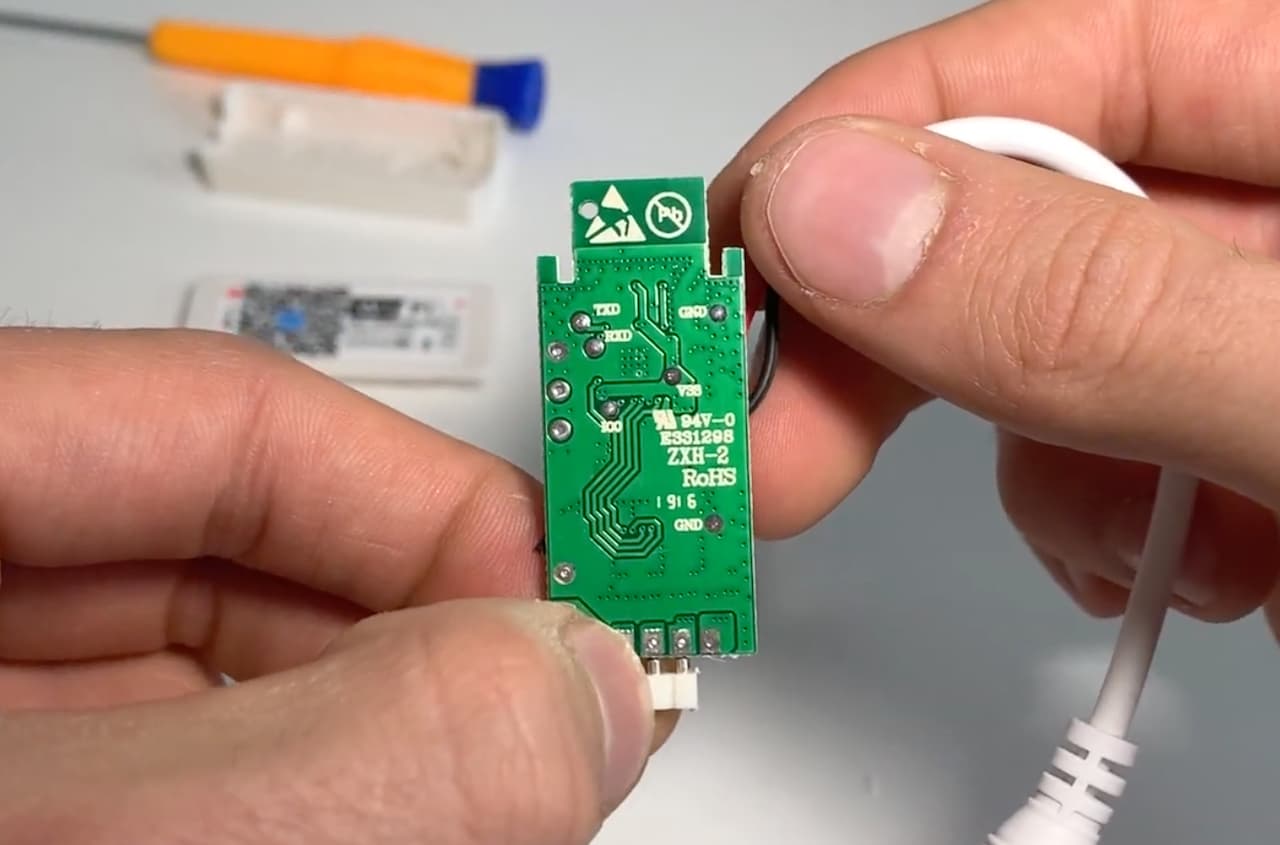
No visible serial pins?
If your controller has no visible serial pins, it probably looks like this:
JSON Strings for MagicHome RGB Controllers
In recent versions of the HAA firmware, to access the setup page you need to open http://192.168.4.1:4567 in your browser while connected to the device via WiFi.
Here are some JSON strings I have tested on a few different modifications of the MagicHome RGB controller and a few other devices that are setup and configured identically, only difference being the JSONs.
MagicHome RGB Controller
Tested only with an RGB lightstrip, not sure about the W channel: Red: 5, Green: 13, Blue: 12
{"c": {"q": 850,"b": [{"g": 0,"t": 5}]},"a": [{"t": 30,"r": 5,”g”: 13,”v”: 12, ”b”: [{"g": 0}]}]}
Board Version from the video: Red: 12, Green: 5, Blue: 13
{"c": {"q": 850,"b": [{"g": 0,"t": 5}]},"a": [{"t": 30,"r": 12,"g": 5,"v": 13,"b": [{"g": 0}]}]}
old ones of mine:
Red: 12, Green: 5, Blue: 13, White: 15
{"c": {"q": 850,"b": [{"g": 0,"t": 5}]},"a": [{"t": 30,"r": 12,"g": 5,"v": 13,"w": 15,"b": [{"g": 0}]}]}
Red: 12, Green: 5, Blue: 13, White: 15 - RGB Lightstrip and white channel as separate accessory
{"c":{"q":850,"b":[{"g":0,"t":5}]},"a":[{"t":30,"r":12,"g":5,"v":13,"b":[{"g":0}]},{"t":30,"w":15}]}
Red: 15, Green: 13, Blue: 12
{"c": {"q": 850,"b": [{"g": 0,"t": 5}]},"a": [{"t": 30,"r": 15,"g": 13,"v": 12,"b":[{"g": 0}]}]}
from HAA wiki:
Red: 15, Green: 13, Blue: 12, White: 14
{"c": {"q": 850,"b": [{"g": 0,"t": 5}]},"a": [{"t": 30,"r": 15,"g": 13,"v": 12,"w": 14,"b": [{"g": 0}]}]}
Red: 15, Green: 13, Blue: 12, White: 14 - RGB Lightstrip and white channel as separate accessory
{"c":{"q":850,"b":[{"g":0,"t":5}]},"a":[{"t":30,"r":15,"g":13,"v":12,"b":[{"g":0}]},{"t":30,"w":14}]}
H801 (Another affordable solution)
Red: 15, Green: 13, Blue: 12, White: 14
{"c": {"q": 850,"b": [{"g": 0,"t": 5}]},"a": [{"t": 30,"r": 15,"g": 13,"v": 12,"w": 14,"b": [{"g": 0}]}]}
Shelly RGBW2
Color lightbulb with external toggle
{"c":{"l":2,"b":[{"g":13,"t":5}]},"a":[{"t":30,"r":15,"g":12,"v":14,"w":4,"b":[{"g":5,"p":0},{"g":5,"t":0},{"g":13}]}]}
After you setup the device, add it to the Home app and test it out.
I say test it, because the provided json strings might not work for your controller as there are many modifications of the board with switched color GPIO pins.
Debugging
If that does not work, it’s not too hard to get them right.
Set the color to Red, if it doesn’t light in red, then try changing the Red GPIO value.
In this case, the geen value is incorrect, so we have to change it.
Turn on and off the device 8 times to put it in Setup mode. After that, open a browser and head to the device’s hostname.lan or .local, you can try both. It depends on your network configuration.
If it doesn’t load, but your device still works in HomeKit, try getting it in Setup mode again by turning it off and on 8 times.
If it is unavailable in HomeKit and in the browser, try to reach it via its IP, which you can find in your router settings or with an app like Fing, via your smartphone.
When you open the setup page you can modify the JSON configuration string and correct the colors.
As I said, in my case, I needed to correct the Green value.
And the variables for RGB are R, G and V respectively,
The GPIOs that you can try are 4,5, 12, 13, 14, 15.
If you still don’t get proper Red, Green and Blue, do that for Green and Blue, and then you should be getting the color you set it to.
After Flashing
After you make sure everything is working properly and the setup is finished, you can disconnect the wires from the device.
Make sure not to pull them, as you might not be able to connect again for flashing in the future.
Simply use a soldering gun to disconnect them with ease.
When that’s done, we can put the case back on.
Now that we have our new HomeKit LED Controller, it is time to mount it and it’s LEDs. I have the LED strip going around my bed, with the controller and it’s power supply hidden behind it.
If you are having issues, please check for solution here - Frequently Asked Questions for HomeKit Accessory Achitect or join our Discord channel and we will solve the problem. :)
Please Like this video if you found it helpful.
Comment down below with suggestions for future videos.
Subscribe for more Smarty stuff.
Enjoy.
This video and article might require you to work with 220/110V (Mains Voltage). High Voltage can be dangerous for your life if you do not know what you are doing. If you do not know what you are doing, consult with an electrician. Otherwise, proceed at your own risk!
Flashing your device by following my instructions you do it at your own risk. Opening some devices to flash them might void their warranty. Furthermore, flashing HAA removes your old firmware and if you want to get it back, you need to re-flash that manually.